Learn How to Repair a SMPS Power Supply in Simple Steps
Switch Mode Power Supplies (SMPS) are essential components in modern electronic devices, from computers to industrial machinery. Their efficiency, compact size, and ability to handle a wide input voltage range make them highly popular. However, like any electronic device, SMPS units can fail due to component wear, voltage fluctuations, or environmental factors. Learning how to repair SMPS power supplies can save both time and money while ensuring the longevity of your electronic equipment. This guide provides a detailed, step-by-step approach to safely and effectively repairing SMPS.
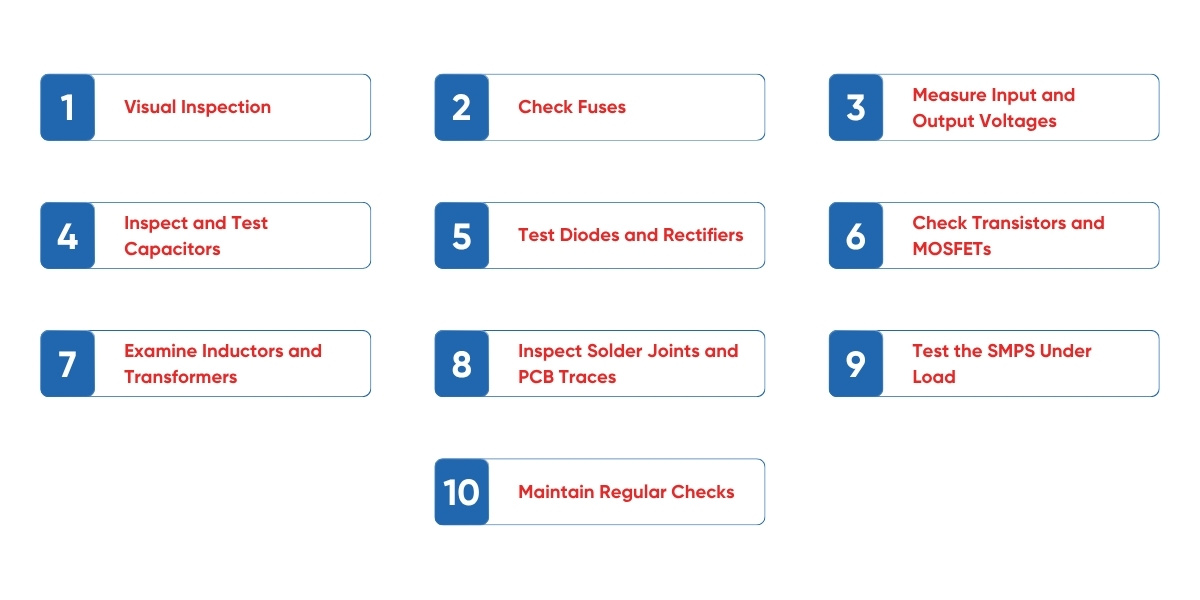
Step-by-Step Guide on How to Repair an SMPS Power Supply?
Repairing an SMPS (Switch Mode Power Supply) can seem challenging, but with the right approach, you can troubleshoot and fix most common issues. SMPS units are used in computers, industrial equipment, and various electronic devices due to their efficiency, compact design, and ability to handle wide voltage ranges. However, they are prone to failures caused by component wear, voltage spikes, environmental factors, or poor ventilation. Following a structured process makes power supply repair safer and more manageable, helping you restore devices efficiently and avoid repeated breakdowns.
Step 1: Visual Inspection
Begin by thoroughly examining the SMPS for visible signs of damage, such as:
- Burnt or discoloured components
- Swollen or leaking capacitors
- Broken or loose solder joints
- Signs of overheating near transformers or diodes
Early detection of visible damage helps pinpoint the root cause and prevents unnecessary component replacements. Pay close attention to unusual smells, scorch marks, or corrosion on the PCB, as these are common indicators of short circuits, overloading, or environmental damage. Cleaning dust and debris can also prevent future issues.
Step 2: Check Fuses
Fuses protect the SMPS against electrical faults. Using a multimeter, check continuity to determine if the fuse is blown. Replace a faulty fuse with one of the same rating, as using a higher-rated fuse may cause significant damage to the power supply or connected devices. In industrial units, multiple fuses may exist, so inspect each carefully. Consider using fuses with fast blow characteristics in sensitive circuits for better protection.
Step 3: Measure Input and Output Voltages
Check the input voltage with a multimeter to ensure the SMPS receives proper power. Then, measure the output voltage and compare it with the specifications. Any deviation indicates faulty components or potential circuit damage. Testing under no-load conditions first and then under load ensures accurate diagnostics. Voltage fluctuations can also indicate ageing components or partial shorts.
Step 4: Inspect and Test Capacitors
Capacitors are common failure points in SMPS circuits. Look for bulging, leakage, or burnt marks. Test each capacitor using a capacitance meter and replace faulty ones with high-quality equivalents rated for the same or higher temperature. Electrolytic capacitors are particularly prone to degradation over time. Using low-quality replacements may lead to recurring issues.
Step 5: Test Diodes and Rectifiers
Diodes and rectifiers convert AC to DC within the SMPS. Test each with a multimeter in diode mode—good diodes conduct in one direction and block in the other. Replace shorted or open diodes to restore output stability. Ensure replacements match voltage and current ratings. Diode failures can lead to ripple or complete shutdown, so addressing them promptly is critical.
Step 6: Check Transistors and MOSFETs
Transistors and MOSFETs handle high-frequency switching and are prone to failure due to overheating, voltage spikes, or long-term stress. Test for shorts between gate, drain, and source terminals. Replace damaged components with equivalent parts and ensure proper heat sinking to prevent repeated failures. For high-power SMPS, verify that the thermal paste or pad is correctly installed on MOSFETs to enhance heat dissipation.
Step 7: Examine Inductors and Transformers
Inductors and transformers are vital for energy conversion and maintaining output voltage stability. Look for overheating, burnt insulation, or broken windings. Use an LCR meter to measure inductance and continuity. Replace faulty components carefully to avoid further damage. Proper installation and insulation are essential, especially in industrial SMPS units, to prevent electrical shorts or leakage.
Step 8: Inspect Solder Joints and PCB Traces
Cold or cracked solder joints can cause intermittent failures. Inspect the PCB carefully and re-solder any suspect joints. Check for damaged traces and repair them using jumper wires or conductive ink if needed. Regular inspection of solder connections can prevent many SMPS problems before they escalate, ensuring stable long-term operation.
Step 9: Test the SMPS Under Load
After replacing faulty components, test the SMPS under load. Connect it to the intended device or a dummy load and measure output voltages. Ensure outputs match specifications and remain stable under varying conditions. Testing under real-world conditions confirms the repair’s success and ensures safe operation. Observe for excessive heat, unusual noises, or voltage ripple, which may indicate remaining issues.
Step 10: Maintain Regular Checks
Periodic inspections prolong SMPS life. Check for dust accumulation, overheating, and loose connections. Keep the environment clean, dry, and well-ventilated. Monitoring minor fluctuations, ripple, or noise in the output can help detect potential failures early. In industrial setups, SMPS testing should be part of a preventive maintenance schedule, reducing unexpected downtime and ensuring continuous operation. Documenting maintenance and repairs also helps identify recurring faults and plan replacements proactively.
Ensuring Reliability and Efficiency in Your Electronics
Repairing an SMPS power supply is a detailed process that requires patience, safety awareness, and technical knowledge. From initial visual inspections to testing components and performing load tests, following a structured approach ensures effective results. While minor repairs can be handled independently, professional assistance from trusted industrial electronics repair service providers like Horizon Elect Devices is recommended for complex industrial units. By mastering these steps, you can maintain reliable power for your devices, save costs, and contribute to a sustainable electronics environment.
Whether you are a hobbyist or working in an industrial setting, understanding how to repair SMPS equips you with a valuable skill, ensuring your electronic systems run smoothly and efficiently.